


This Batman inspired hooded towel came together in about an hour and at under $10 total cost, they make a great gift for toddler boys. Thumb loops at each edge make spreading your fierce wings a breeze and the cool scalloped edges make your little guy look like a real bat!

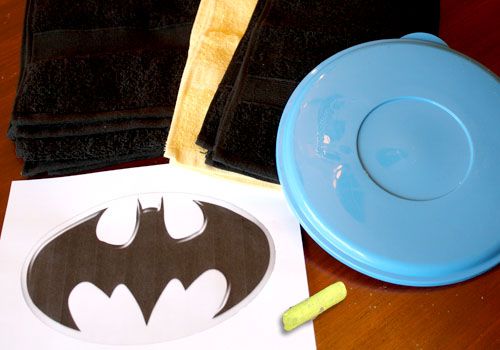
- 1 standard sized black towel
- 1 standard size black hand towel
- 1 standard size yellow hand towel (you'll use half for this project)
- plate, bowl or other circular item to trace
- chalk (I used some of my kid's sidewalk chalk)
- spray quilting adhesive (not pictured)
- sewing scissors
- sewing machine (or serger)
- Batman logo print-out. Download and print by clicking here.
*Please note: my Gingher Scissors were being sharpened so I used a rotary cutter for most of the cuts AND I am going to draw some of the instructions since the fold are difficult to see on a black towel.

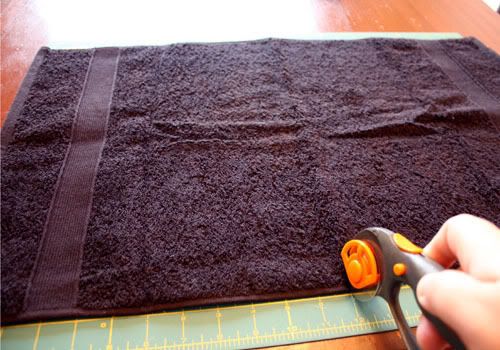
2. With the remaining half laid out in front of you, cut of the finished edges on both sides.
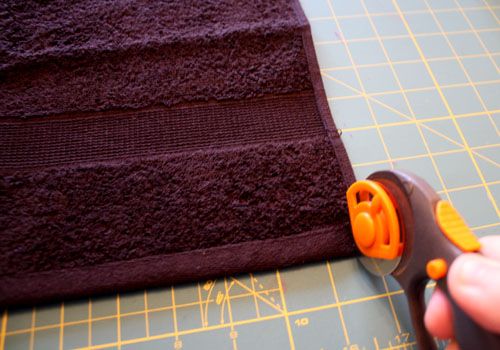
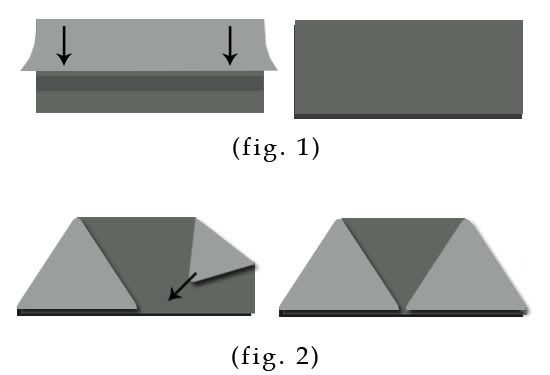
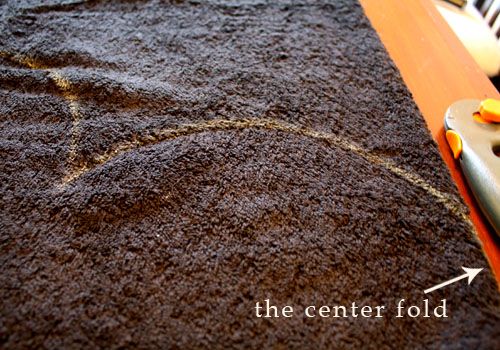
3. Lay towel with the only finished edge at the top (this usually has a decorative band running through it) and fold it down to meet the edge you cut when you halved the towel. (as seen below in Figure 1)
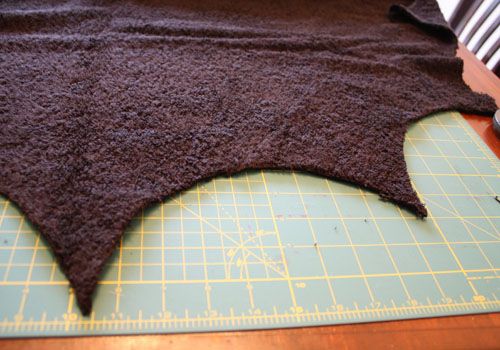
4. Now take the top right corner and fold it diagonally to meet the bottom edge, forming a triangle. Do the same with the top left corner. (as seen below in Figure 2)
5. Pin all layers except the top layer to the middle of your full sized towel along the top. Do NOT pin the finished edge of the hood to the main towel.
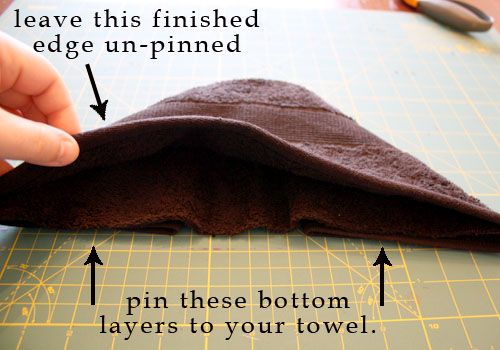
6. Sew with a zig zag stitch along the unfinished edges attaching them to the main towel. You may want to go over this stitch multiple times to ensure a good attachment. Set aside.
Creating scalloped wings and thumb loops:
1. Lay out your hooded towel on a flat surface. Fold it in half width-wise. Leave 2 inches at the top edge of the towel. Using a circular tracing tool (mine is a lid for a large tupperware bowl) and chalk trace half circles onto towel, ending at the bottom with a point.
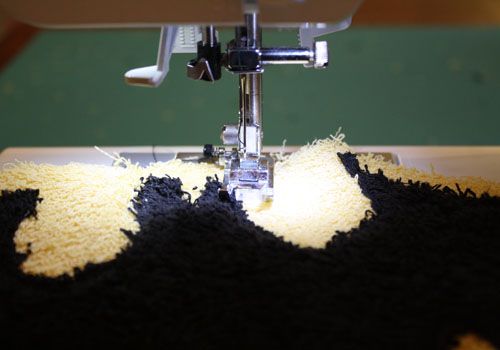
2. With the towel still folded, cut along your traced curves to create a bat wing effect.
3. Open towel and sew a zig zag stitch along the edge of the scallops on both sides. Go over it again with a zig zag stitch to be sure it is firmly attached. This is a time when using a serger with the trimmer would be wonderful.
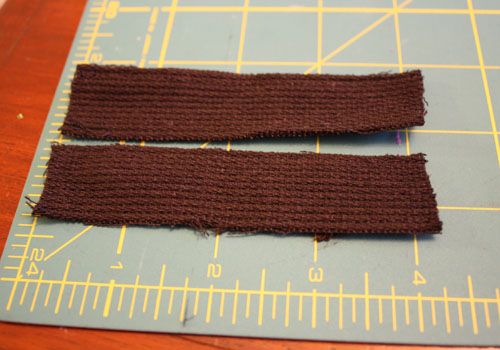
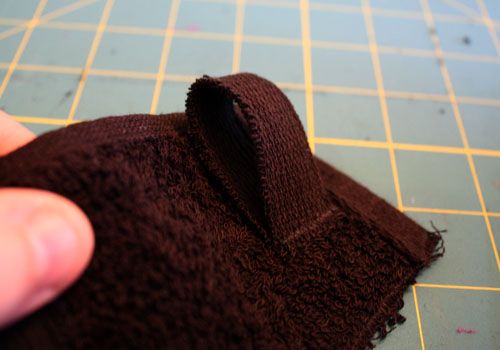
4. Cut two strips from remaining black towel pieces that measure 4" long and 1" wide. Sew around edges to prevent fraying.

5. Fold in half to form loops. Pin to top edge of towel with the looped edge facing up. Sew to attach.
Adding the Batman logo:
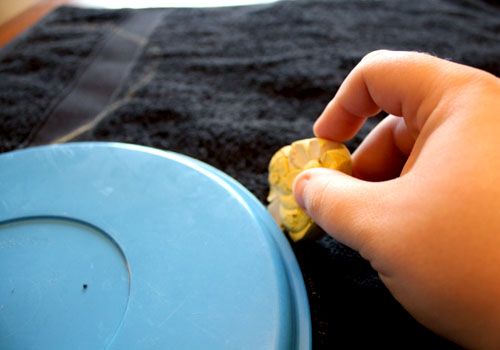
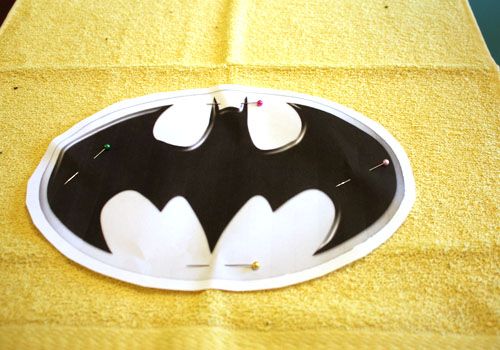
1. Pin the cut out emblem onto one half of the yellow hand towel. Cut around outside image to make a yellow oval.
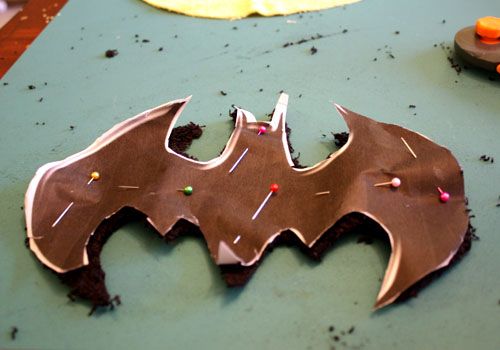
2. Now cut bat logo from the paper. Pin onto remaining half of your black hand towel. Cut out with scissors.
3. Use your spray adhesive (found by the sewing straight pins in craft stores) to adhere the bat logo to your yellow oval. You don't want to use pins because you will be sewing such intricate shapes that pins will distort the image.
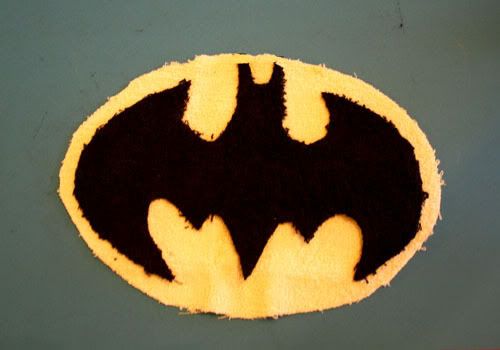
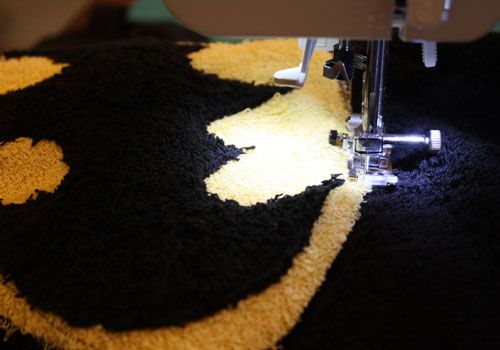
4. Use black thread to sew a zig zag stitch along the edge of the bat logo. Go over it again with a zig zag stitch to be sure it is firmly attached.
5. Lay out hooded towel on flat surface and position finished logo in the center and towards the top. Use spray adhesive to attach finished logo onto your towel. If you try using pins here your pins will bend because you'll be going through three layers of thick towel material.
6. Use black thread to sew a zig zag stitch along the edge of the yellow oval. Go over it again with a zig zag stitch to be sure it is firmly attached. This is the time when using a serger without the trimmer would be wonderful. The first time I made this the only part that jogged loose after washing was the finished logo.
And...you're DONE!

Once you go through this method of making a hooded towel, you'll be whipping them up for every baby shower. It's really easy once you go through it once!


9 comments:
Doesn't look that easy to me, but then again, I don't know how to sew. CUTE.
This is absolutely brilliant. I am on a hooded towel kick right now and this is right up my alley. Love it.
Super cool idea!! My son would love this!
Fun, my kiddos would love it.
Good job on your Dollar Store Craft. I love those little shadow boxes.
Heather
featured this on my blog today!
kimboscrafts.blogspot.com
I think this will have to be on my Christmas making list for the grand sons! Thanks!
I've been looking for 2 days for this tutorial, so glad I finally found it again! Thanks for the idea, I will definitly be making this.
Great tuturial and really cute blog!!
One thing I found useful is to use black bias tape on the edges. It helps keep the shape looking crisp for a long time.
Thanks for the pattern. It turned out great!
Post a Comment