Silhouettes are everywhere and they are only getting more and more popular. When I was seven years old my 2nd grade teacher made silhouettes of each child in class. I still have that construction paper silhouette of my chubby little face and long, braided hair. I love it. Silhouettes are timeless and classic. They preserve a memory of what a child's face is like when it is rounded by the softness of youth. They capture little baby curls that will someday be made straight with a flat iron and cowlicks which will soon be tamed.
- 1 sheet black shrink plastic (available via Amazon here).
- craft knife
- cutting matt
- small hole punch
- parchment paper/silpat & cookie sheet
- chain link bracelet
- jewelry jump rings
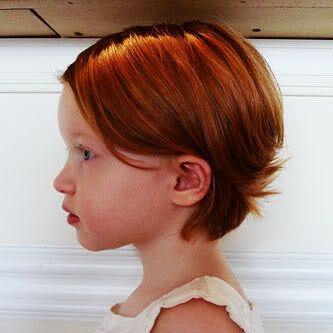
1. Take a photo of your subject from a 90* angle. For my wiggly toddler, it helped me to have a visual fixed point to instruct her to look at while I snapped 3-4 photos. You want to take them from slightly different angles to make sure you get that perfect 90* shot.

2. Change to black and white and crop photo so that the top of head to bottom is 2".
3. Print picture out on regular white printer paper, not card stock.
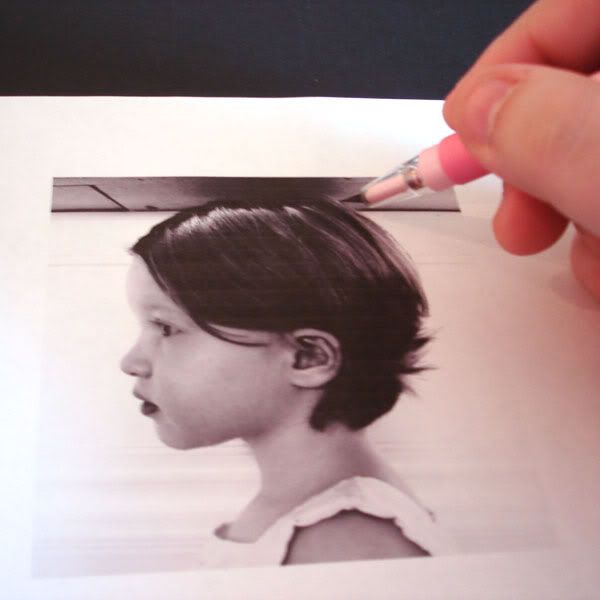
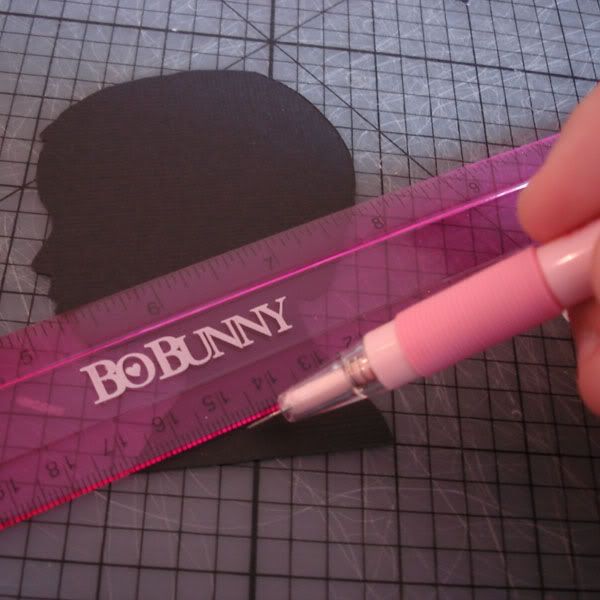
(NOTE: the following photos are from a time I made a silhouette that was large sized. Just pretend that I am working on a 2" silhouette)
4. Cut a 3 inch border around edge of silhouette and use scotch tape to affix on top of a piece of black shrink plastic.
5. With a cutting mat beneath, use a fine tipped craft knife to cut around the silhouette edge. Make sure to keep the craft knife straight up and down and to press firmly enough to go through the layer of paper and the layer of shrink plastic.
6. Use a ruler to cut an angle from nape of neck to top of chest if desired.
7. Use a small 1/8" hole punch (available at craft stores) to make a hole in the top of the head about 1/4 inch from the edge.
8. Preheat oven per shrink plastic instructions and prepare a baking sheet by lining it with parchment paper or a sil-pat. Do not skip this step and bake right on a baking sheet...the shrink plastic will stick and create a warped finished product.
9. Place shrink plastic on sheet and bake per directions. Plastic will curl up and then begin to flatten. Have a flat bottomed object handy right next to the stove. I used a paper plate.
11. Remove from baking sheet, add small jump ring through punched hole and attach ring to charm bracelet.
You're finished! That was easy, right?!


9 comments:
OK, this is genius! I must make. I too love silhouettes and made the old-school version using a light with my kindergarten students last year. Glad I found you and your crafty ideas!
I absolutely fell in love with these bracelets the first day that I saw them in the competition. I finally found time to come over and check out the tutorial. I will have to browse about your site. It looks like you have wonderful things going on.
This is a fantastic tutorial! I've featured silhouette pendant tutorials before :
http://www.beadinggem.com/2010/05/how-to-make-silhouette-portrait-pendant.html
Some need photocopiers to shrink the image down. But yours is a shrink plastic first. Genius!
Okay to feature it in a future blog post so others can come visit? Pearl
Absolutely Pearl!
I love spreading the love!
well! I just found you and am in love with so many of your projects, but this takes the cake big time! and that red haired cutie? what a doll! so glad I found you :)
kristen
threeinthenest.blogspot.com
OH MY GOODNESS! This is totally my next project! THANK YOU SO MUCH FOR SHARING!! :)
awesome!
Sounds great, but I tried Amazon and 8 other craft shops and no one has black shrink wrap!
Black Shrink Film on AMAZON
available HERE
Post a Comment