


First, download your rounded corners file by clicking here.
1. Open your photo in Photoshop and crop to a 5x7" size in either portrait or landscape.
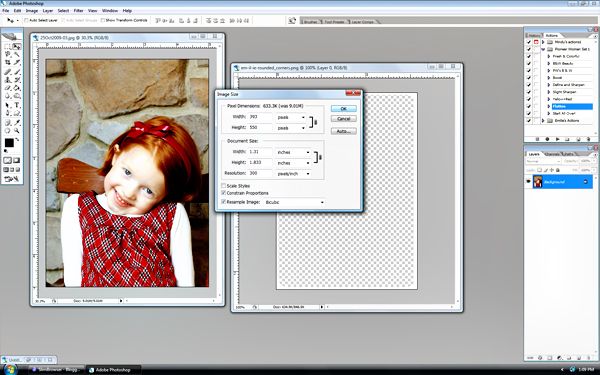
2. Resize your photo so that the longest edge (either height or width) is 500px by clicking Image > Image Size and then typing 550 into one of the top two fields.
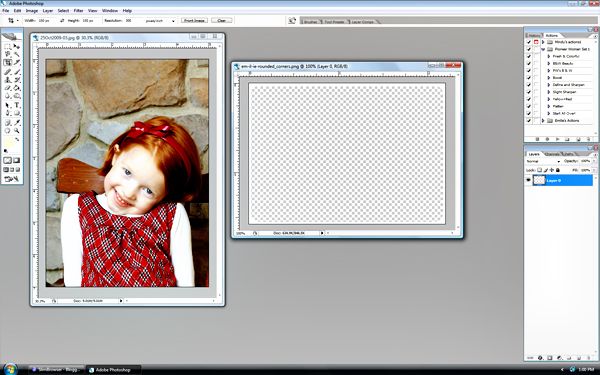
3. Open the rounded corner file.
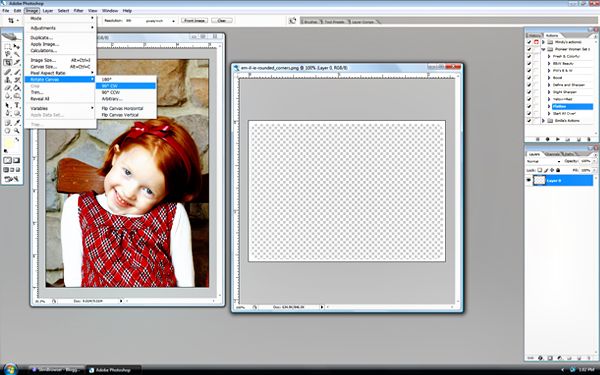
4. If your photo is portrait style then you must first rotate the rounded corners file. Do this by clicking image > rotate canvas > 90* CW. If your picture is cropped into a landscape then omit this step.
5. Next select the move tool from the toolbox.
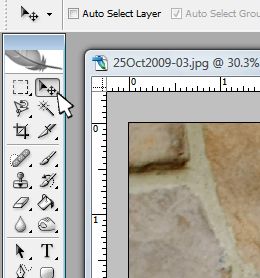
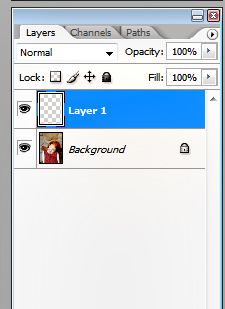
Click on the rounded corner file once, this makes sure that Photoshop knows this is the file you will be moving. Click on it, holding down the button, and drag it over top of your photo. It should click into place once you release the mouse button.
You should now notice two layers in your layers pallet instead of just one.
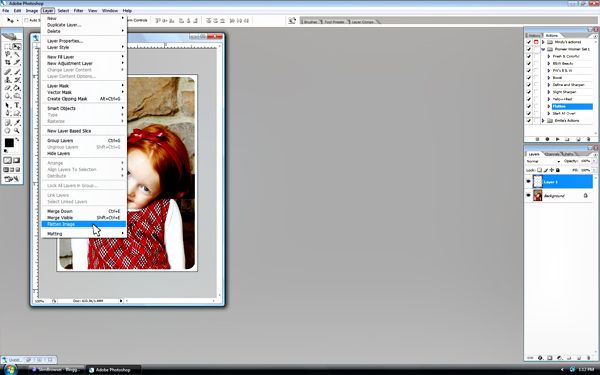
6. Now you need ot make your two layers into one again. Click Layer > Flatten Image.
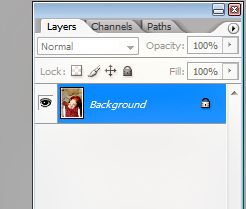
Now you should have one layer called "Background" again.
7. Save as a jpg file and post to your blog per your blog's method. You're done!


No comments:
Post a Comment