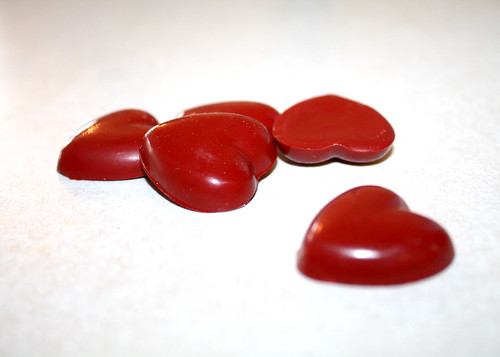
For Valentine's Day the girls and I are making our own crayons to give away as gifts. Now, this is not a new concept....you can find plenty of varying tutorials on the net for this using silicon molds in the oven and mixing old remnants of crayons together...like the tutorial found here on FamilyFun.com. I thought I would share my own spin on these.
Mine are slightly different because
- I wanted my crayons to be solid colors
- I wanted them to be smaller than others shown
- I didn't want to spend $10 on a silicone mold
- a candy mold (under $2 each)
- one microwave safe paper or silicone bowl
- 4 boxes of jumbo crayons (Crayola are the best)
- plastic spoons
- small plastic favor bags (3x4")
- tag print out (free for download below)
- scissors or paper trimmer
- stapler
Kids can't participate in every step of this process so I have indicated where they can safely help.
1. Dump out crayons and sort by color. (Kids)
2. Remove paper from crayons. (Kids)
3. Break crayons into small pieces and put together in microwave safe silicone bowl. (Kids)
4. Microwave for 5 minutes. Stir. Microwave for 1 minute interval, stirring after each minutes, until crayon pieces are completely melted.
5. Quickly pour into candy molds.
6. Allow to cool completely in molds AT ROOM TEMPERATURE. If you try and speed up this process by sticking the molds in the fridge or freezer you will get cloudy and crumbly crayons. A nice shine comes from slowly cooling on the counter top.
7. Pop out from mold and color on scratch paper to remove any uneven edges. (Kids)


3 comments:
seriously, so creative! you. are. awesome.
genius! but i have a question. you say you want your crayons to be solid colors...so do you combine different colors of blue to make a big blue one, or is one heart just one melted crayon? does that even make sense?
I do love these better than my mixed color ones. I'm gonna be checking out candy molds at the store the next I go... or maybe after I move. Good thing we found out about the freezer messing them up. lol
Post a Comment